Cottage Cheese Chips
So you’ve scrolled past one too many TikTok videos of people raving about cottage cheese chips, and now you’re here. Smart move. I get it—the idea sounds weird at first. Cottage cheese? As chips? But here’s the thing: these little protein-packed crisps are actually legit, and I’m about to show you exactly how to nail them every single time.
I’ll be honest—my first batch was a disaster. Soggy, rubbery, and frankly? Kind of sad-looking. But after way too many experiments (my oven has seen things), I’ve cracked the code. Let me save you the trial and error.
What Makes Cottage Cheese Chips Actually Work?
Here’s the deal: cottage cheese is mostly water and protein. When you bake it low and slow, the water evaporates and the protein solidifies into these crispy, crunchy little bites. Think of it like making cheese crisps, but with a protein boost that’ll make your gym bro friends jealous.
The magic happens through dehydration. You’re essentially removing all that moisture while leaving behind the good stuff—protein, flavor, and that satisfying crunch. The curds flatten out, crisp up, and transform into something that actually resembles a chip.
But why cottage cheese specifically? Well, it’s got around 25 grams of protein per cup, it’s cheap, and it’s way more versatile than people give it credit for. Plus, regular chips leave you feeling like garbage after a bag. These? You can munch guilt-free.
The Golden Rules for Maximum Crispiness
Want to know why your chips came out bendy instead of crispy? You probably broke one of these rules. FYI, I learned these the hard way.
Temperature Is Everything
Bake low and slow—always. I’m talking 300°F (150°C) max. Go higher and you’ll burn the edges while the centers stay soggy. Go lower and you’ll be waiting until next Tuesday for them to crisp up.
The sweet spot? 275-300°F for 45-60 minutes. Yeah, it takes time. But rushed chips are sad chips, and nobody wants that.
Pat. Them. Dry.
This is non-negotiable. Cottage cheese is basically a water balloon with curds. You need to drain that excess liquid like your crispy chip life depends on it—because it does.
I use paper towels and press down gently but firmly. Some people use a cheesecloth. Either way, get as much moisture out as possible before they hit the baking sheet.
Spread Them Thin
Thick blobs = chewy disappointment. Thin, even layers = crispy perfection. Use the back of a spoon to spread each dollop into a thin circle, about 2-3 inches in diameter. Think pancake consistency, not ice cream scoop.
Basic Crispy Cottage Cheese Chips Recipe
Let’s start with the foundation. Master this, and you can get fancy later.
Ingredients:
- 1 cup cottage cheese (full-fat works best IMO)
- ¼ cup grated Parmesan cheese
- ½ teaspoon garlic powder
- ¼ teaspoon black pepper
- ¼ teaspoon salt (optional—taste first)
Instructions:
- Preheat your oven to 300°F and line a baking sheet with parchment paper. Trust me, skip the parchment and you’ll be scraping chips off the pan for days.
- Mix everything together in a bowl. Don’t overthink it—just combine until it’s all incorporated.
- Drain and press the mixture with paper towels. I usually press about 3-4 times, changing the paper towels each time.
- Spoon small dollops (about 1 tablespoon each) onto your prepared baking sheet, leaving space between them. You should get around 12-15 chips.
- Flatten each dollop using the back of a spoon. Spread them thin—seriously, thinner than you think.
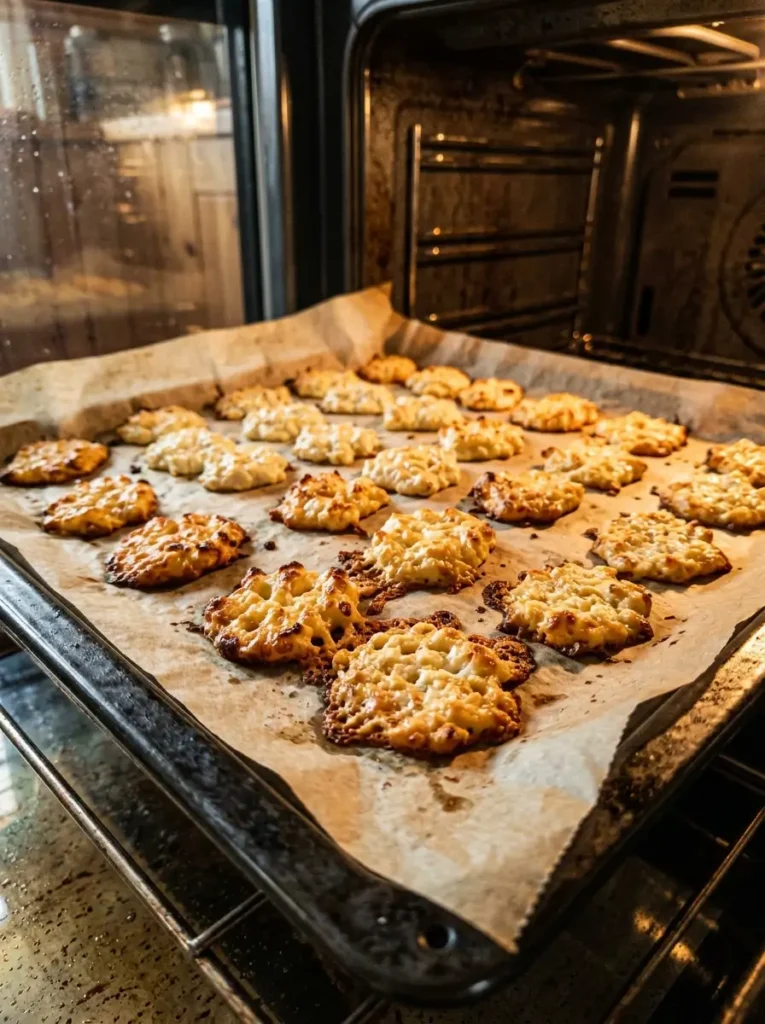
- Bake for 45-55 minutes, checking at the 40-minute mark. You want them golden brown and completely dry to the touch.
- Let them cool completely on the baking sheet. This is crucial—they’ll crisp up more as they cool. Remove them too early and they’ll be floppy.
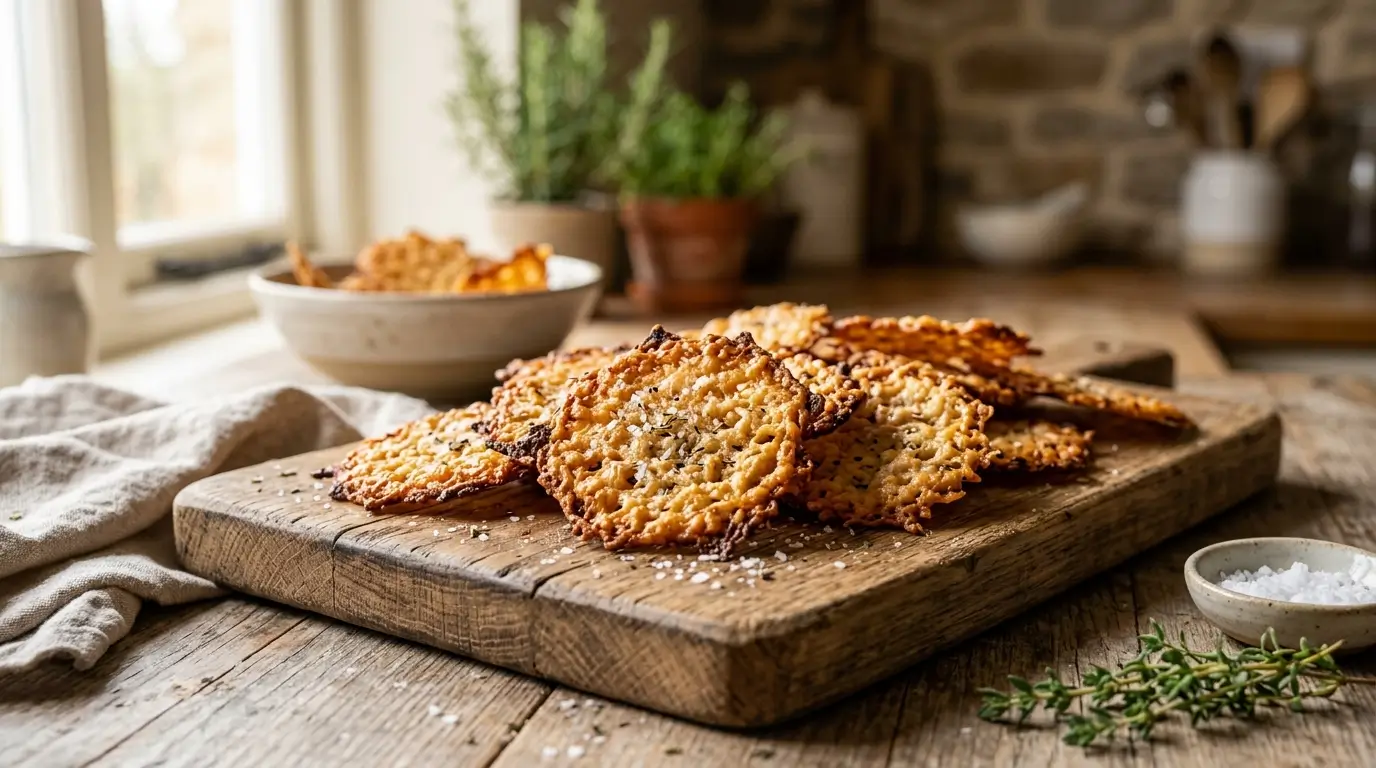
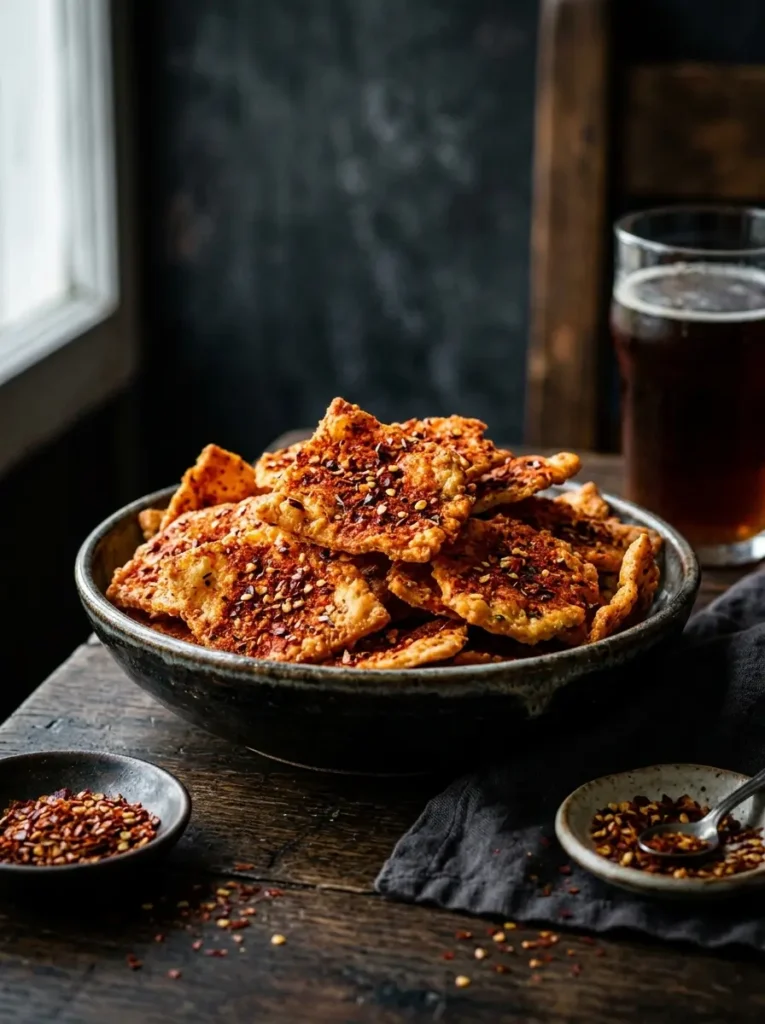
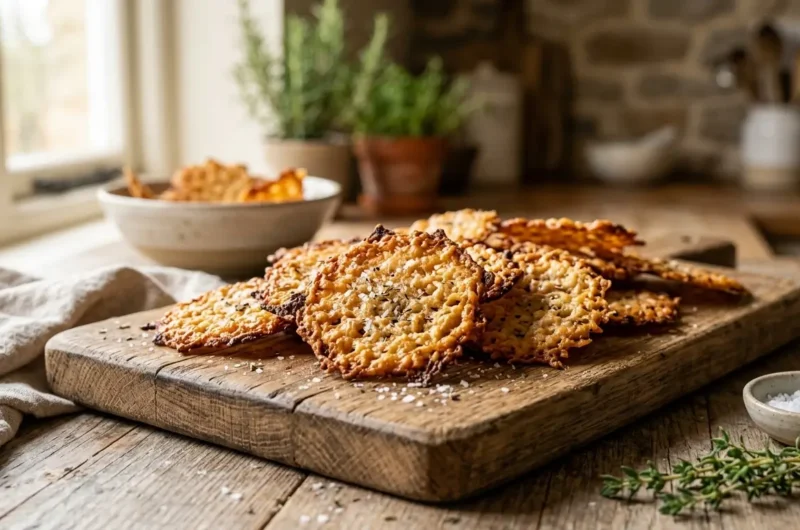
The result? Crunchy, savory, protein-loaded chips that actually taste good. Revolutionary, right?
Spicy Everything Bagel Cottage Cheese Chips
Want to level up? This variation is my go-to when I need something with actual personality.
Ingredients:
- 1 cup cottage cheese
- 2 tablespoons cream cheese (for extra richness)
- 2 tablespoons everything bagel seasoning
- ¼ teaspoon cayenne pepper (adjust to your heat tolerance)
- 1 tablespoon nutritional yeast (optional, but adds a nice cheesy kick)
Instructions:
- Preheat to 275°F this time. The cream cheese and extra toppings can burn easier, so we’re going slightly lower.
- Blend the cottage cheese and cream cheese together until smooth. You can use a food processor or just mash it really well with a fork.
- Press out the moisture—yes, again. Even more important here because cream cheese adds moisture.
- Drop spoonfuls onto parchment, flatten thin, then sprinkle the everything bagel seasoning generously on top. Press it in lightly so it sticks.
- Dust with cayenne if you’re feeling brave. A little goes a long way.
- Bake for 50-60 minutes until the edges are deeply golden and the centers are dry.
- Cool completely before attempting to remove them. Patience, grasshopper.
These hit different. Bold, spicy, and ridiculously addictive. Ever wondered why bagel seasoning makes everything better? Now you know.
Common Mistakes (And How I Ruined Several Batches)
Let me share my failures so you don’t repeat them.
Mistake #1: Using Low-Fat Cottage Cheese
Don’t. Just don’t. Low-fat cottage cheese has even more water and less fat to help with crisping. You’ll end up with rubber pucks. Full-fat is your friend here.
Mistake #2: Overcrowding the Pan
Space them out! When chips are too close, the moisture they release creates steam, and steam is the enemy of crisp. Give each chip room to breathe—about 2 inches apart minimum.
Mistake #3: Opening the Oven Door Every 5 Minutes
I know you’re excited. I know you want to check. But every time you open that door, you release heat and extend baking time. Check once at the halfway mark, then leave it alone.
Mistake #4: Not Letting Them Cool
This was my biggest rookie mistake. I’d pull them out, try one immediately, and wonder why it was chewy. The final crisping happens during cooling. Give them at least 10 minutes on the pan.
Storage and Meal Prep Tips
So you’ve made a batch (or three). Now what?
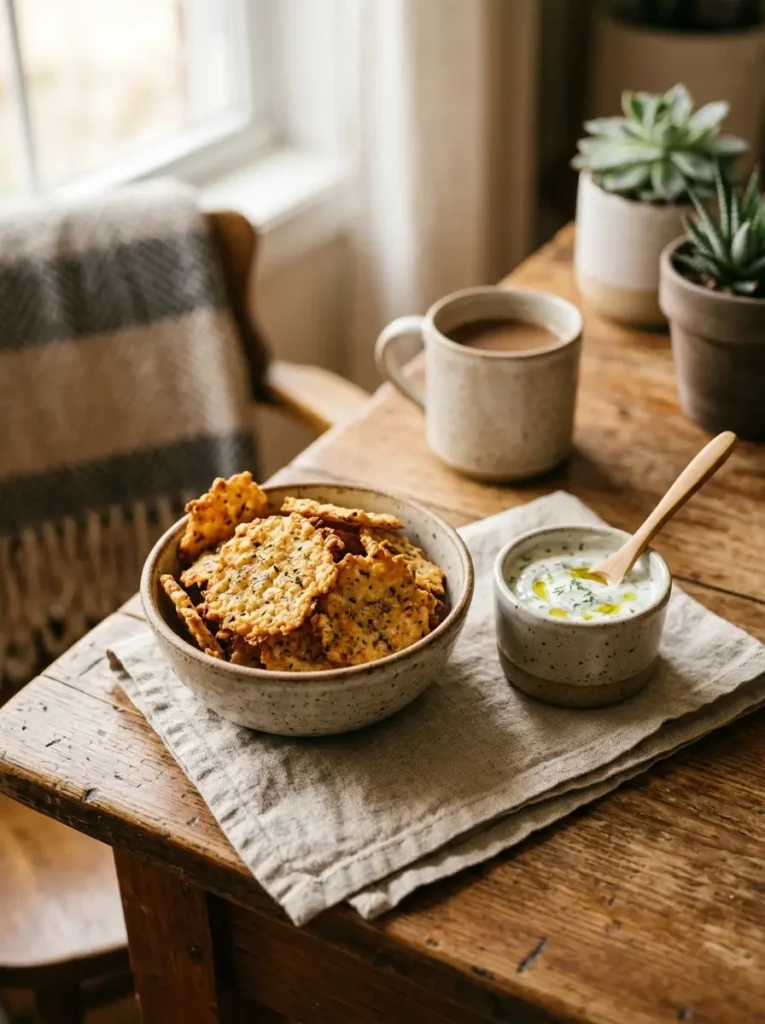
Store them in an airtight container at room temperature for up to 3 days. Any longer and they start losing their crunch. You can also freeze them, but honestly? They never last that long at my place :/
For meal prep, I make a double batch on Sundays. They’re perfect for:
- Snacking (obviously)
- Salad toppers instead of croutons
- Dipping in hummus, guac, or salsa
- Crushing over soups for texture
Want to crisp them up again if they get soft? Pop them back in a 300°F oven for 5-10 minutes. They’ll come back to life.
Why These Beat Regular Chips
Let’s be real for a second. Regular chips are delicious, but they’re also basically deep-fried regret in a bag. You eat them, feel great for 10 minutes, then crash hard.
Cottage cheese chips give you:
- 20+ grams of protein per batch
- Actual nutrition (calcium, B vitamins, the works)
- Fewer than 200 calories for a generous serving
- That satisfying crunch without the grease
Plus, you can customize them endlessly. Ranch seasoning? Sure. Taco spice? Why not. Cinnamon and sweetener for a dessert version? I haven’t tried it yet, but I’m not saying no.
The Bottom Line
Look, cottage cheese chips aren’t going to replace your favorite artisanal kettle chips for every occasion. But for a high-protein snack that’s actually crispy and actually tasty? They’re kind of perfect.
The key is patience—low temperature, proper moisture removal, and letting them cool completely. Nail those three things and you’ll be making these on repeat.
Are they a little weird? Sure. But so is putting pineapple on pizza, and people do that. At least these are packed with protein and won’t leave you feeling like you need a nap.
Give them a shot. Start with the basic recipe, get your technique down, then go wild with flavors. And when your friends ask what you’re eating and you say “cottage cheese chips,” enjoy their confused faces. You’ve earned it.
Now go make some crispy magic happen. Your protein goals (and your taste buds) will thank you.
Cottage Cheese Chips
Course: DessertCuisine: American2
servings5
minutes40
minutes120
kcalIngredients
- 1 cup cottage cheese (full-fat works best IMO)
¼ cup grated Parmesan cheese
½ teaspoon garlic powder
¼ teaspoon black pepper
¼ teaspoon salt (optional—taste first)
Directions
- Preheat your oven to 300°F and line a baking sheet with parchment paper. Trust me, skip the parchment and you’ll be scraping chips off the pan for days.
- Mix everything together in a bowl. Don’t overthink it—just combine until it’s all incorporated.
- Drain and press the mixture with paper towels. I usually press about 3-4 times, changing the paper towels each time.
- Spoon small dollops (about 1 tablespoon each) onto your prepared baking sheet, leaving space between them. You should get around 12-15 chips.
- Flatten each dollop using the back of a spoon. Spread them thin—seriously, thinner than you think.
- Bake for 45-55 minutes, checking at the 40-minute mark. You want them golden brown and completely dry to the touch.
- Let them cool completely on the baking sheet. This is crucial—they’ll crisp up more as they cool. Remove them too early and they’ll be floppy.